Installation Instructions
As explained in the REQUIREMENTS.md, the Stack build system is our only installation requirement. You can install it and run the demo yourself (option 1) or use the Dockerfile (option 2).
Option 1: Manual Setup
First, please install Stack. Detailed installation instructions for many operating systems are given on the respective installation webpage.
- Linux: You can install stack via
curl -sSL https://get.haskellstack.org/ | shorwget -qO- https://get.haskellstack.org/ | sh(Alternatively, if you are using an Ubuntu-based distro, you can get it with aptsudo apt-get install haskell-stack, orsudo pacman -S stackif you are using an Arch-based distro). Further instructions for installing stack including specific linux distributions are given here. - Windows 64-bit: Go to the stack installation page. Download and run the Windows 64-bit Installer.
- MacOS: Please follow the instructions on the installation webpage.
Second, please open a terminal and navigate to the repository’s directory (the directory containing this INSTALL.md).
cd <path/to/this/repository>
Before running the demo you should update and upgrade stack as you might get errors otherwise:
stack update
stack upgrade
Our demo prints coloured text to the terminal, so it might not be compatible with every terminal. We tested it within the Windows Terminal, Windows Powershell, Windows Subsystem for Linux (WSL), and the default terminal on Manjaro. You can then build the library and run the demo as follows:
stack run
Option 2: Setup via Dockerfile
First, install Docker.
Second, open a terminal and navigate to the repository’s directory (the directory containing this INSTALL.md).
cd <path/to/this/repository>
Third, create the docker image:
docker build -t ftr .
You can verify that the image was created successfully by running
docker images
and checking that an image called ftr is listed.
Fourth, you can run the image and thus the demo:
docker run -t ftr
What Is There to See
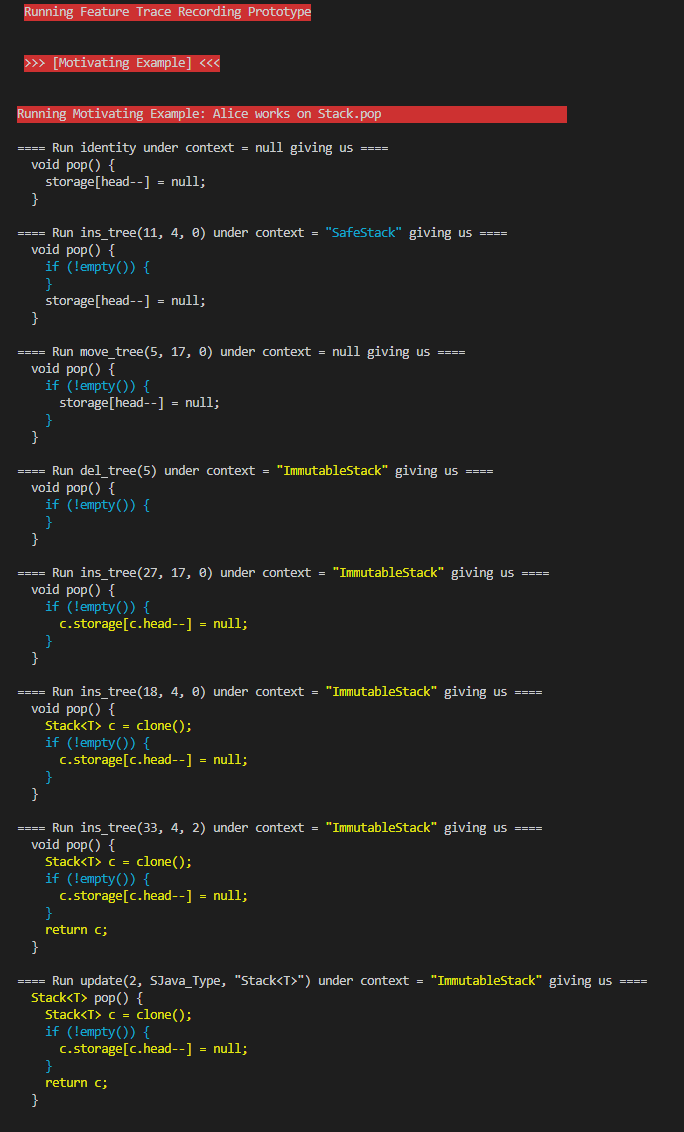
Our demo runs several independent examples. Each example is separated by a red headline and consists of a series of edits applied to a source code fragment. For each edit, we first show its type and the feature context under which that edit was made:
==== Run ins_tree(11, 4, 0) under context = "SafeStack" giving us ====
where an abstract syntax tree (AST) whose root has ID 11 is inserted below node 4 in the current AST at index 0 under feature context “SafeStack”.
(The first edit will always be identity under context null. This is a technical detail necessary to show the initial state of the example.)
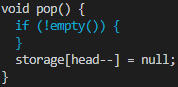
Afterwards, the code that is a result of this edit is shown, similar to Figure 1 in the paper:
Expected Output / If You Cannot Get it Running
By default, the following examples are executed in this order:
- Motivating example
- Alice’s part of the motivating example shown in Figure 1 in the paper.
- Bob’s part of the motivating example shown in Figure 3 in the paper. As the synchronisation of code and feature traces across clones is subject to future work, this example simulates how we envision the synchronisation.
- Examples of edit patterns from the evaluation (Section 5): For each pattern we show how to reproduce it in the general case and when an outer scope (eg., a method) is already assigned the target mapping. We omitted AddIfdef* as it is just a repitition of AddIfdef with arbitrary contexts and code fragments. As AddIfdefElse has to be reproduced using two variants, we need two different examples here, one for the if-branch and one for the else-branch.
If you see the following output after stack run (or when running the Dockerfile), the build process and execution of the demo were successful.
The colours in your terminal might deviate from the following screenshots.
The following screenshots also display the entire default output of the demo in case you were not able to install the stack or get the demo running.
First, the output for Figure 1 in the paper is shown. Alice performs several edits to the pop method.
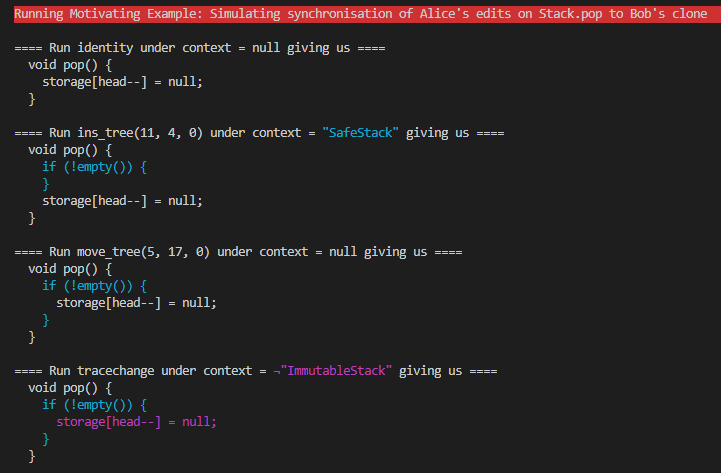
Second, the propagation of Alice’s changes to Bob’s variant is shown. As the synchronisation of code and feature traces across clones is subject to future work, this example simulates how we envision the synchronisation.
Third, our tool reproduces the edit patterns described in the paper (Section 5).
